In this article we’re going to create a Spring Boot project using Spring Initializr that will allow us to interact with Amazon SQS queues.
Amazon SQS and Spring Series
This article is part of a series:
- Create a queue in Amazon SQS
- Set up a Spring Boot app with Amazon SQS
- Send messages to an Amazon SQS queue using Spring Boot
- Receive messages from an Amazon SQS queue using Spring Boot
Create a new Spring Boot project using Spring Initializr
- Go to https://start.spring.io/
- Accept the default Project, Language, and Spring Boot version. Enter a descriptive group and artifact name.

- You can expand the Options section if you need to change the Java version (default is Java 8). I’m using the latest Java version at the time I wrote the article, Java 13.
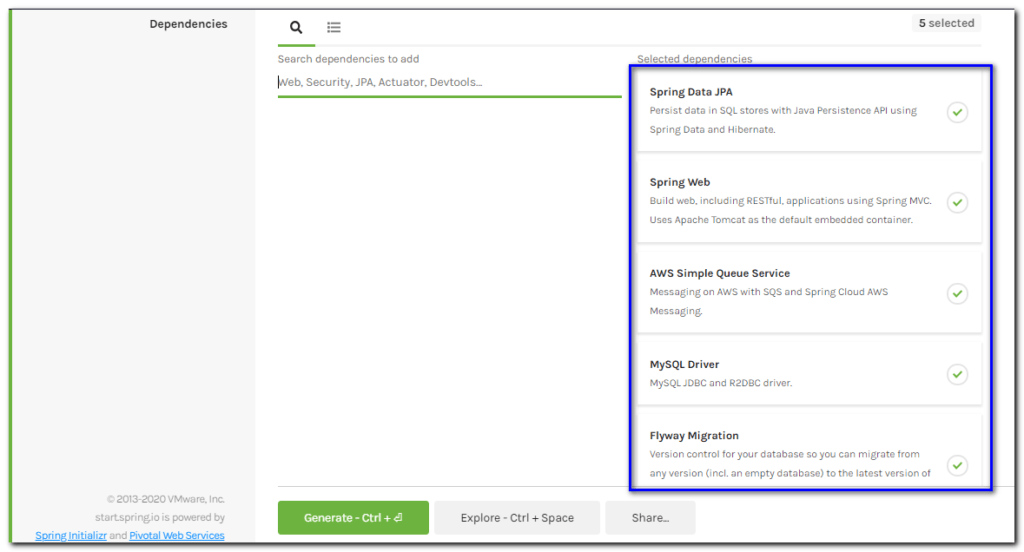
- Add the necessary dependencies.
- Click Generate.
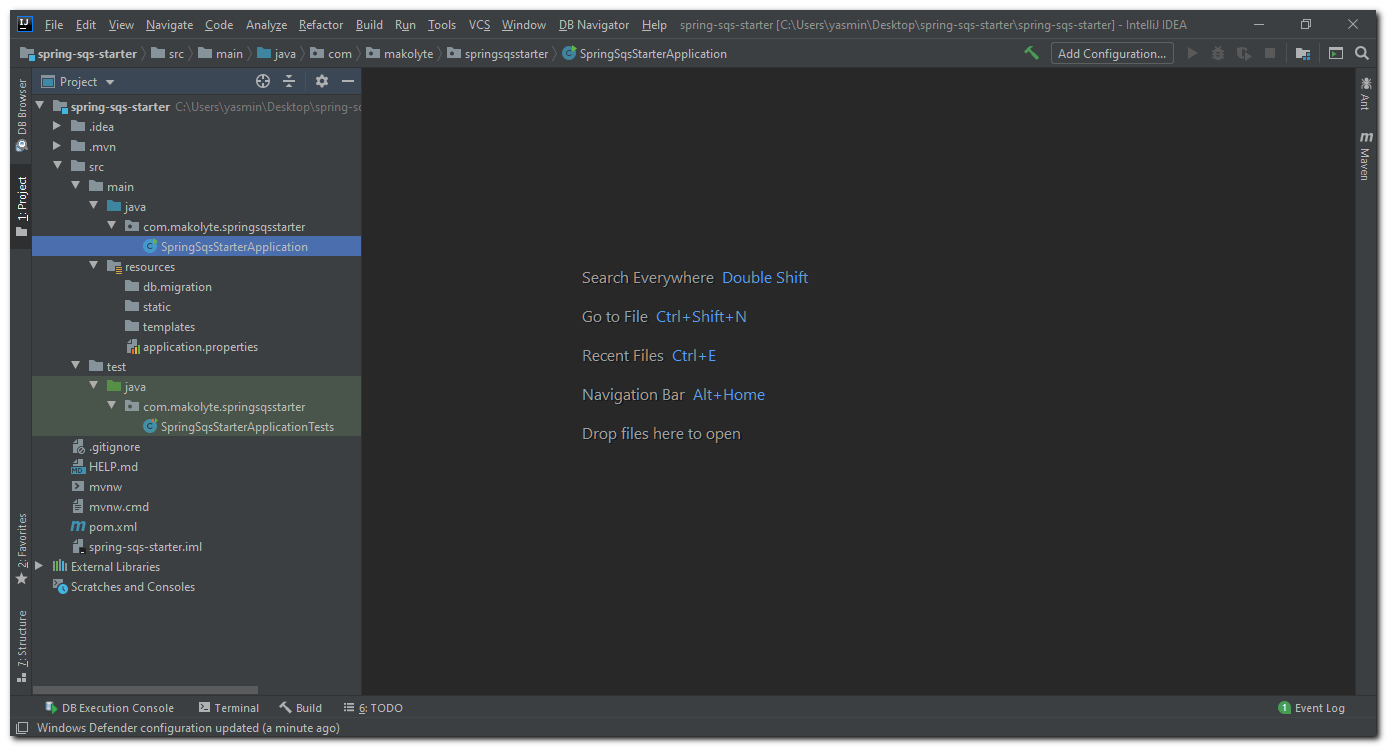
- Save the zip file to your computer. Unzip the file and open the project in your favorite IDE. I’m using IntelliJ IDEA.
Dependencies
Open the pom.xml file to review the dependencies.
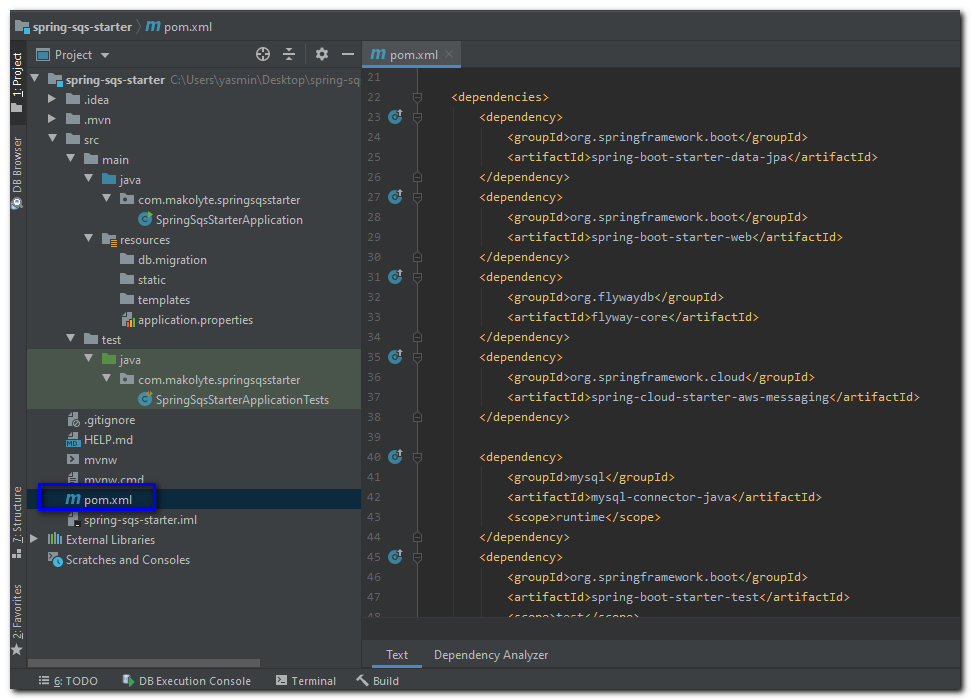
The following are the most important dependencies and how they’ll be used in the project.
| ArtifactId | Purpose |
| spring-cloud-starter-aws-messaging | Send and receive messages to/from an Amazon SQS queue |
| spring-boot-starter-web | Create endpoints to send and receive messages |
| spring-boot-starter-data-jpa | Save messages received from the queue to a database |
| mysql-connector-java | Save messages to a MySQL database |
| flyway-core | Create database tables using a database migration tool |
| spring-boot-starter-test | Write unit tests and integration tests using libraries such as JUnit Jupiter, Mockito, and various Spring testing libraries |
Add Amazon SQS properties
Add the following properties to the application.properties file .
### AWS ###
cloud.aws.credentials.accessKey=your_access_key
cloud.aws.credentials.secretKey=your_secret_key
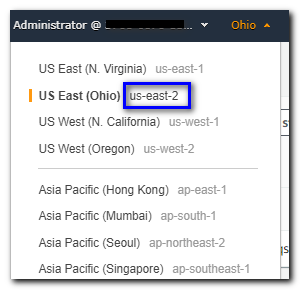
cloud.aws.region.static=us-east-2
cloud.aws.stack.name=Spring-Sqs
### Add this property to be able to start app before adding a data source ###
spring.autoconfigure.exclude=org.springframework.boot.autoconfigure.jdbc.DataSourceAutoConfiguration
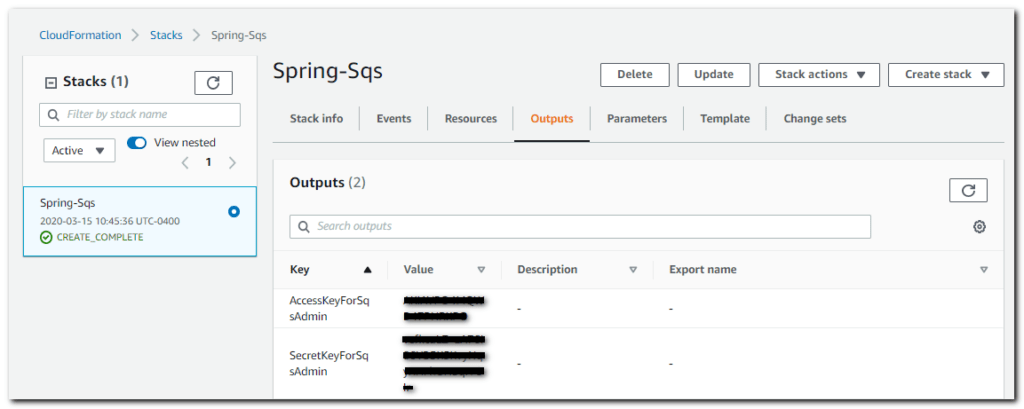
Code language: plaintext (plaintext)To obtain these values, in AWS go to Cloud Formation > Stacks.
Stack name and region
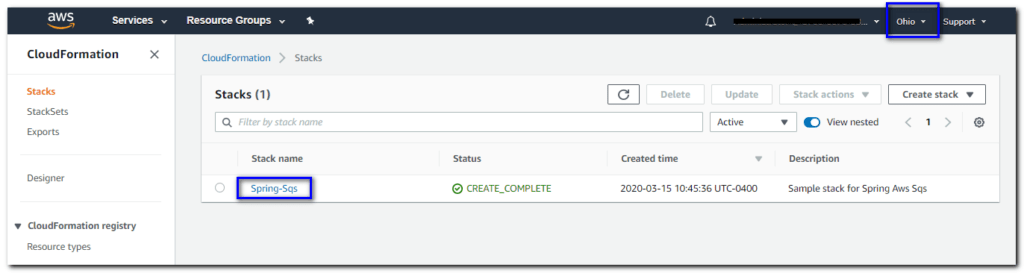
This view provides you with the stack name and region. Click on the region drop down to get the region name in the format needed for the properties file.
Access key and secret key
Select the stack from the list. Click on the Outputs tab to obtain the access key and secret key.
Start the application
Now you’ll be able to start the app successfully:
